
Figure-1.1
Taste of Android :: Part-1
| Bhaskar S | 04/27/2013 |
Introduction
Currently we are in the midst of a mobile revolution and are witnessing an exponential growth in Android application development.
Android is an open source mobile operating system from Google that is based on Linux. The following diagram shows the various layers and components that make up the Android operating platform:
The Android platform is made up of the following layers:
Linux Kernel :: contains the necessary device drivers to interact with the various hardware components of the mobile device(s) such as Audio, Bluetooth, Camera, Display, Keypad, Memory, Phone, Wifi, etc
Libraries :: contains the core C/C++ libraries used by the various components of the Android platform such as the Core library (libc), 2D/3D display library, FreeType fonts library, SSL library, Audio/Video library, WebKit web browsing library, SQLite database library, etc
Android Runtime :: is in the same layer as the core Libraries and contains the Dalvik Virtual Machine which provides a runtime environment for executing the Android applications
Application Framework :: contains a rich set of high-level building blocks that can be leveraged by developers to build powerful Android applications
Applications :: contains the core Android applications (usually provided by the mobile device maker) such as the Address Book, Browser, Phone, Texting, etc
Installation and Setup
In this section we will show the various steps to download, install, and setup the Android development environment on a Linux desktop. In our case it is a 64-bit Linux Mint 14 desktop.
Download the following software:
Unzip and extract each of the above downloaded software in a desired directory locations. In our case we installed the above listed software in the top directory ~Products under java7, eclipse, and android-sdk respectively.
Ensure that the environment variable JAVA_HOME is set to ~Products/java7 and ~Products/java7/bin is included in the PATH.
The following figure 1.2 shows the contents of the directory ~Products/android-sdk:

The Android SDK that we downloaded and extracted in ~Products/android-sdk contains only basic starter tools. In order to setup for full Android application development, one needs to launch the Android SDK Manager to download and install the remaining tools and components. To do so, execute the following command from the directory ~Products/android-sdk:
tools/android
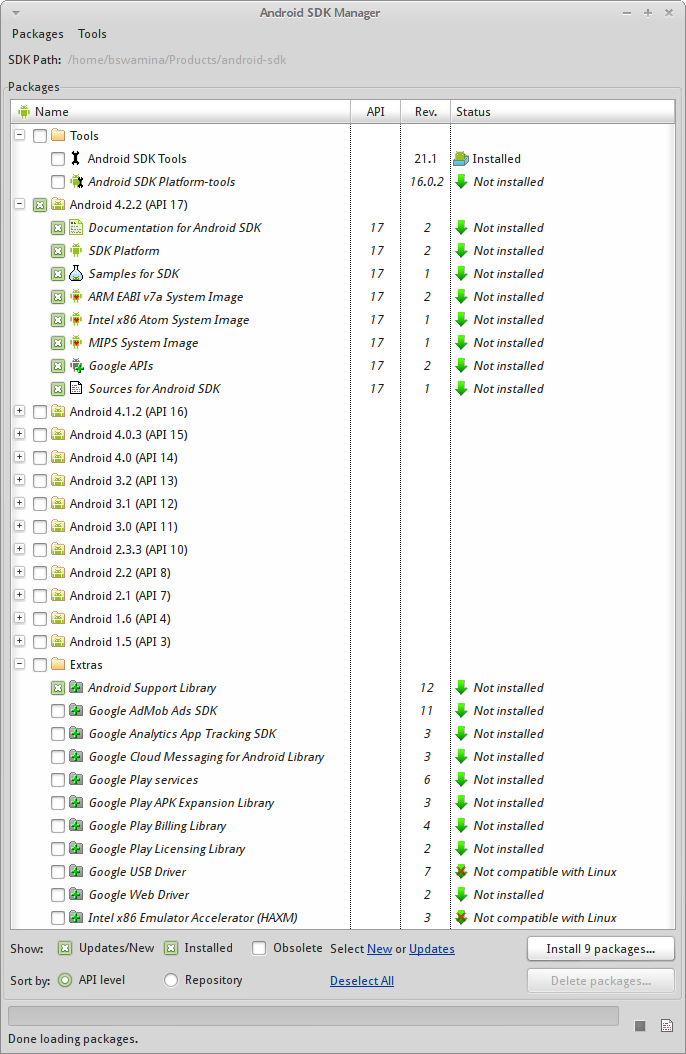
The execution of the above command will launch the Android SDK Manager. The following figure 1.3 shows the screen of the Android SDK Manager:
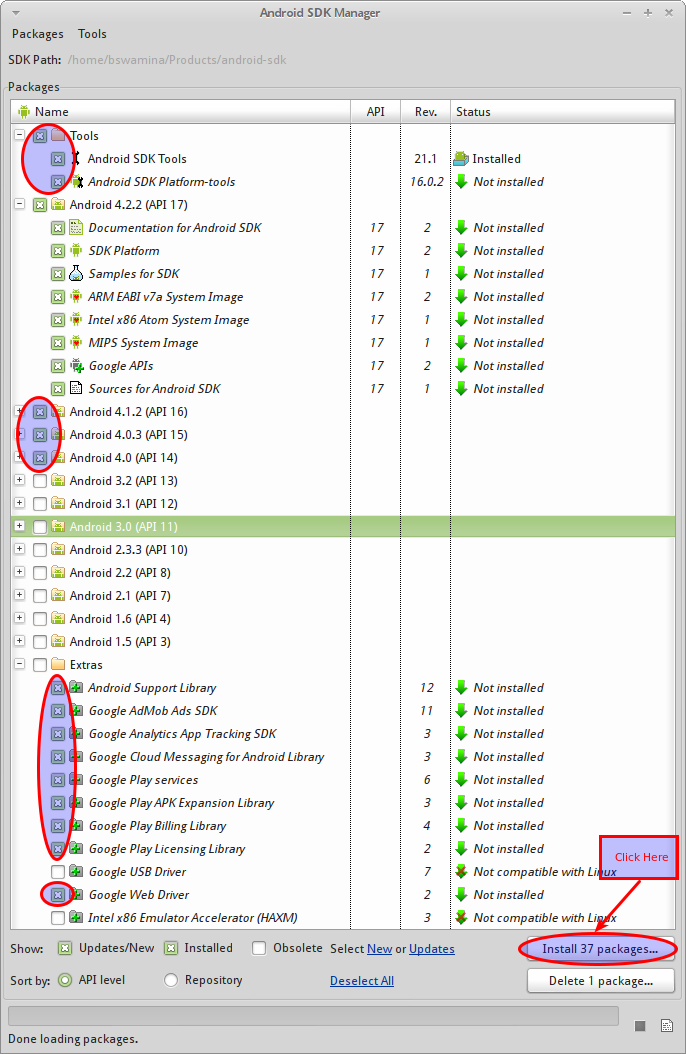
Make the necessary selection(s) from the Android SDK Manager and click on the Install button as shown in the following figure 1.4 below:
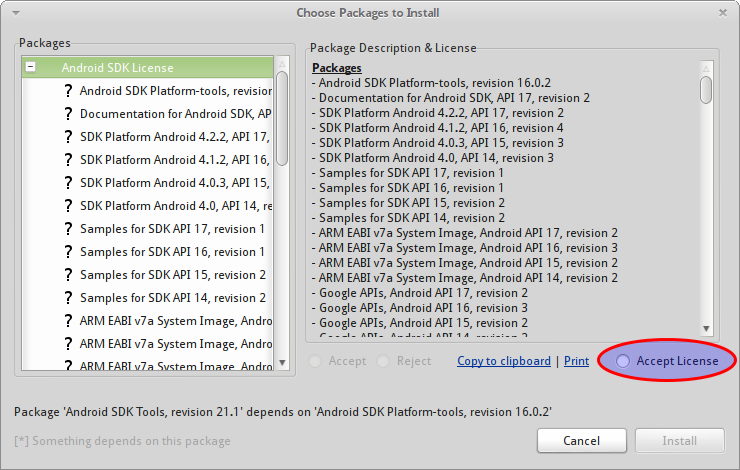
Clicking on the Install button on the Android SDK Manager screen will launch the Choose Packages to Install screen with the license agreement. Check the Accept License option as shown in the following figure 1.5 below:
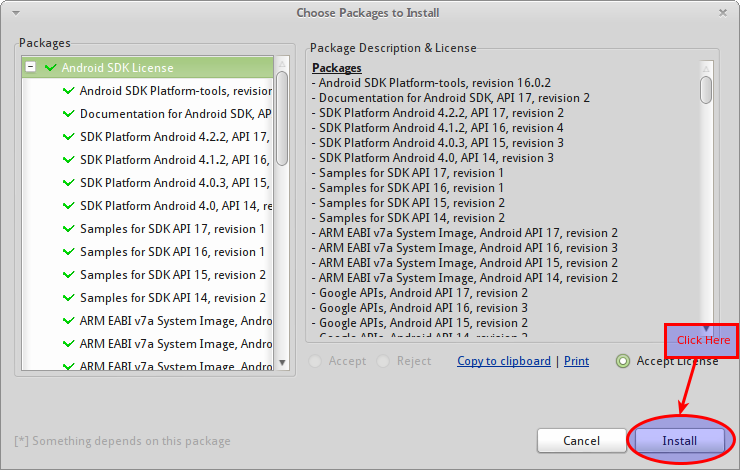
Once the Accept License option is selected, the Install button on the Choose Packages to Install screen will be enabled. Click the Install button as shown in the following figure 1.6 below:
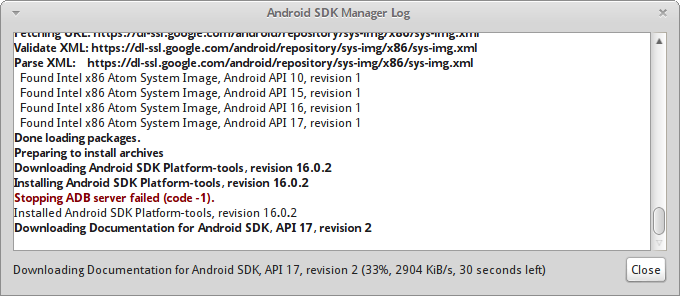
Clicking the Install button on the Choose Packages to Install screen will begin the download and install of selected packages. This action will launch the Android SDK Manager Log screen as indicated in the following figure 1.7 below:
Once all the selected packages are installed, the Android SDK Manager Log screen will indicate the Done message as indicated in the following figure 1.8 below:
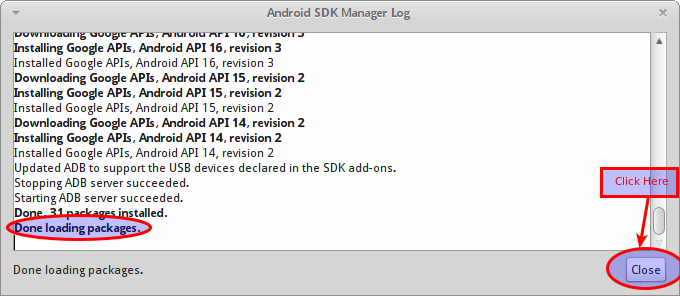
Click the Close button on the Android SDK Manager Log screen and exit the Android SDK Manager screen. At this point we have completed loading of all the necessary packages for Android application development.
Now it is time to setup the Eclipse IDE for Android application development. Launch Eclipse IDE by executing the following command from the directory ~Products/eclipse:
eclipse
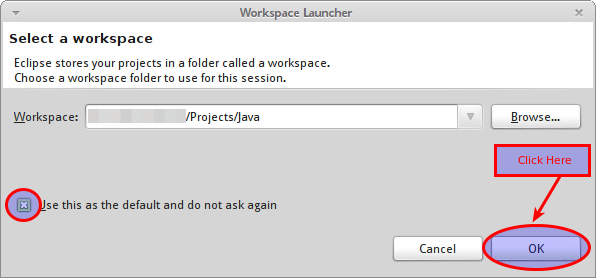
Since this is the first time we are launching Eclipse, the Workspace Launcher screen is launched. In our case we have selected the workspace directory to be ~Projects/Java. Check the Use this as default and do not ask again option and click on the Ok button as shown in the figure 1.9 below:
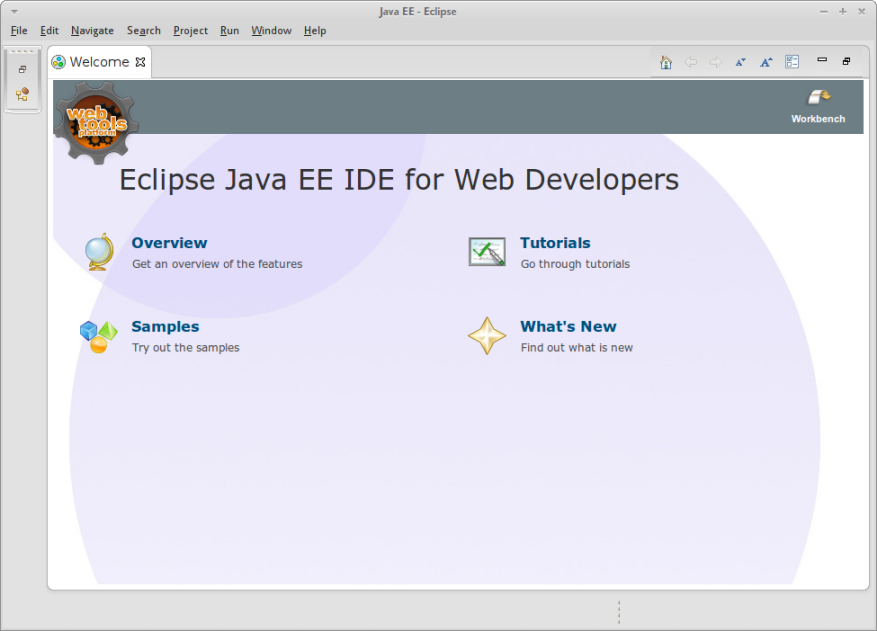
Clicking the Ok button on the Workspace Launcher screen will launch the Eclipse IDE with the Welcome screen as shown in the figure 1.10 below:
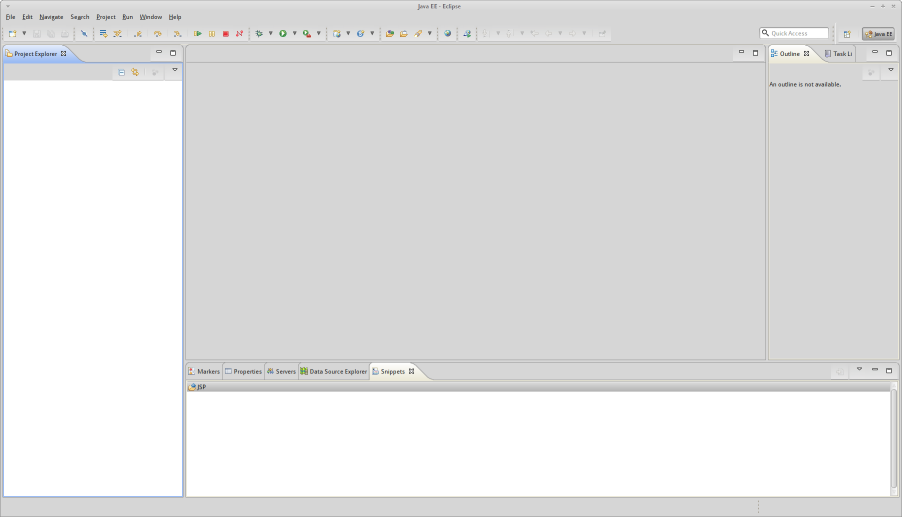
Close the Welcome tab on the Eclipse IDE and we will be on the IDE as shown in the figure 1.11 below:
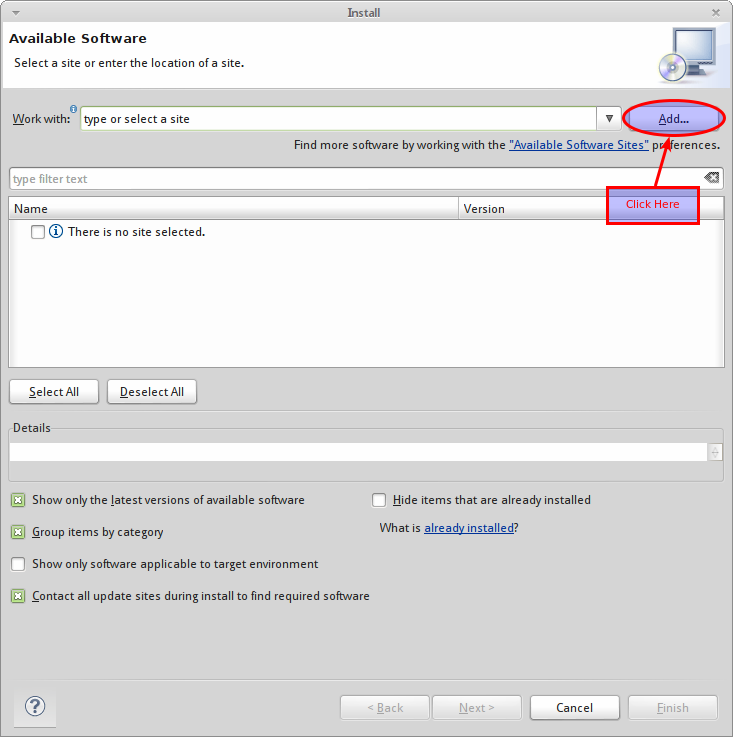
On the Eclipse IDE screen, select the Help menu option and click on Install New Software... menu item option. This will launch the Install screen. Once the Install screen appears, click on the Add button as shown in the figure 1.12 below:
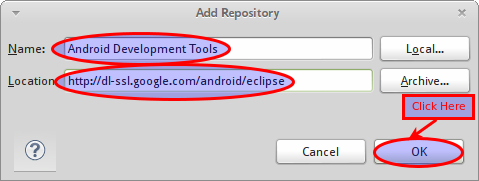
Clicking the Add button on the Install screen will launch the Add Repository dialog box where one would enter Android Development Tools in the Name: text box and http://dl-ssl.google.com/android/eclipse in the Location: text box. Then click on the Ok button as shown in the figure 1.13 below:
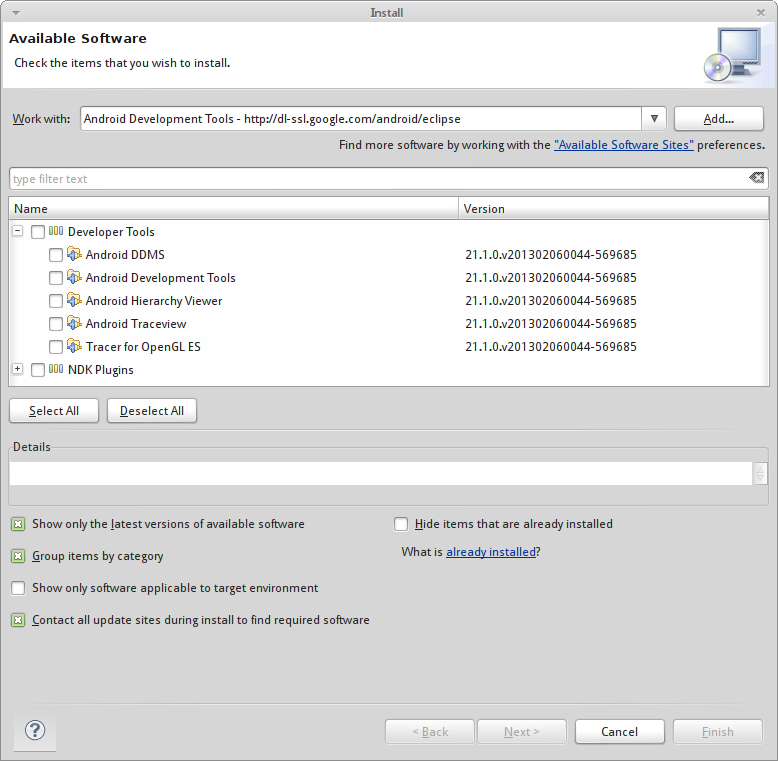
Clicking on the Ok button on the Add Repository dialog box will bring back to the Install screen with additional software that can be installed as shown in the figure 1.14 below:
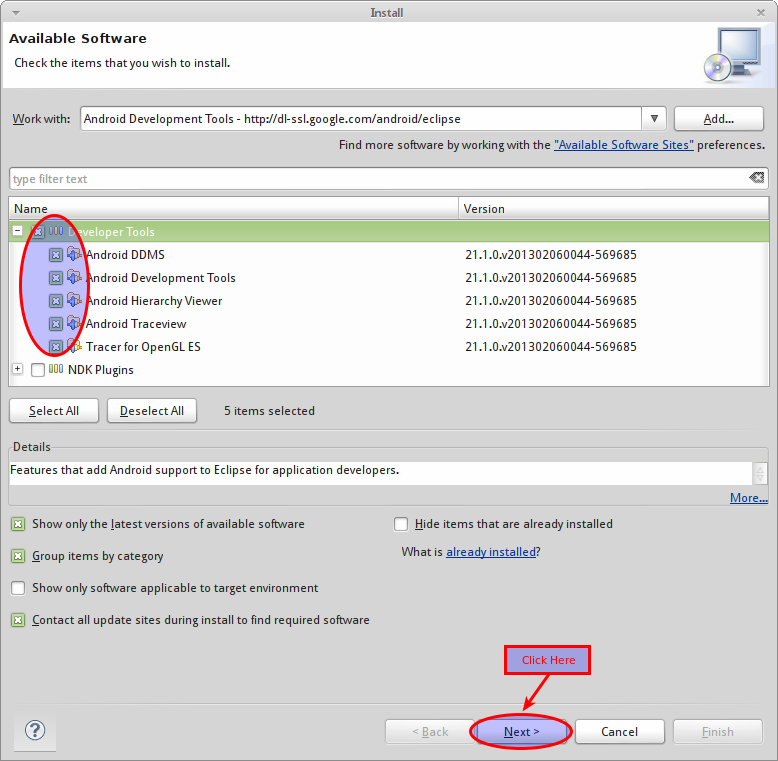
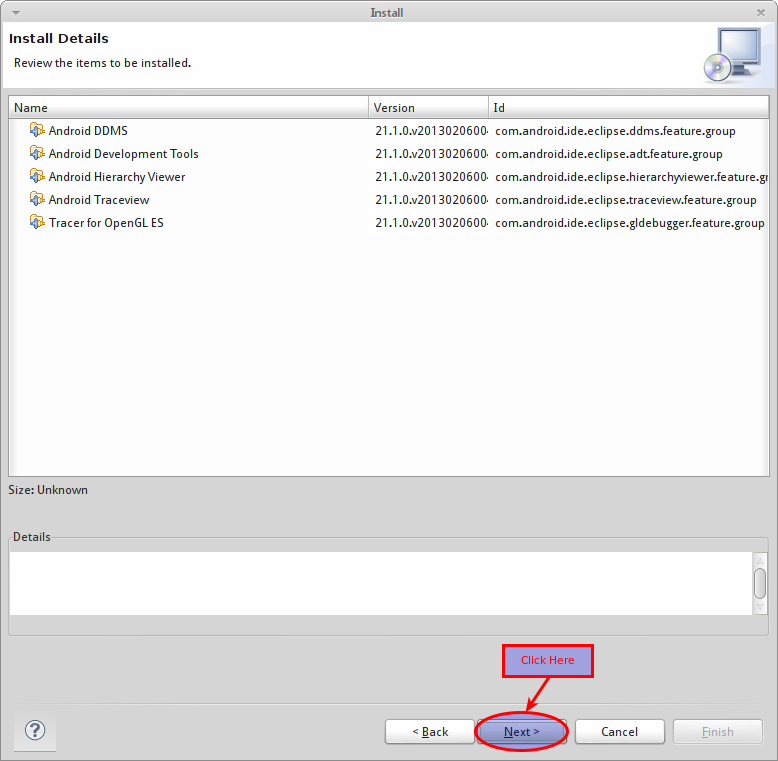
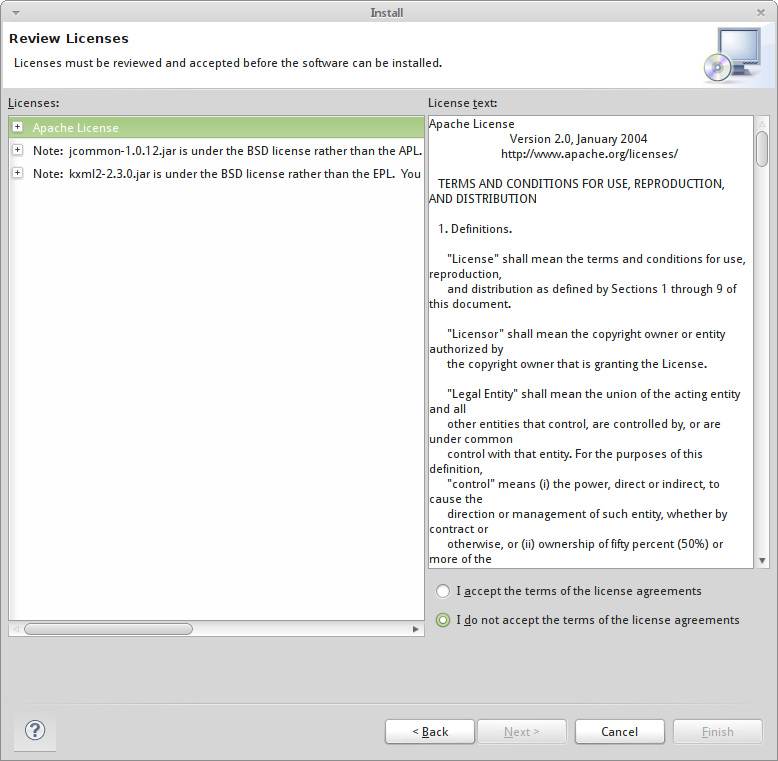
Follow the various screen shown below to install the Developer Tools below:
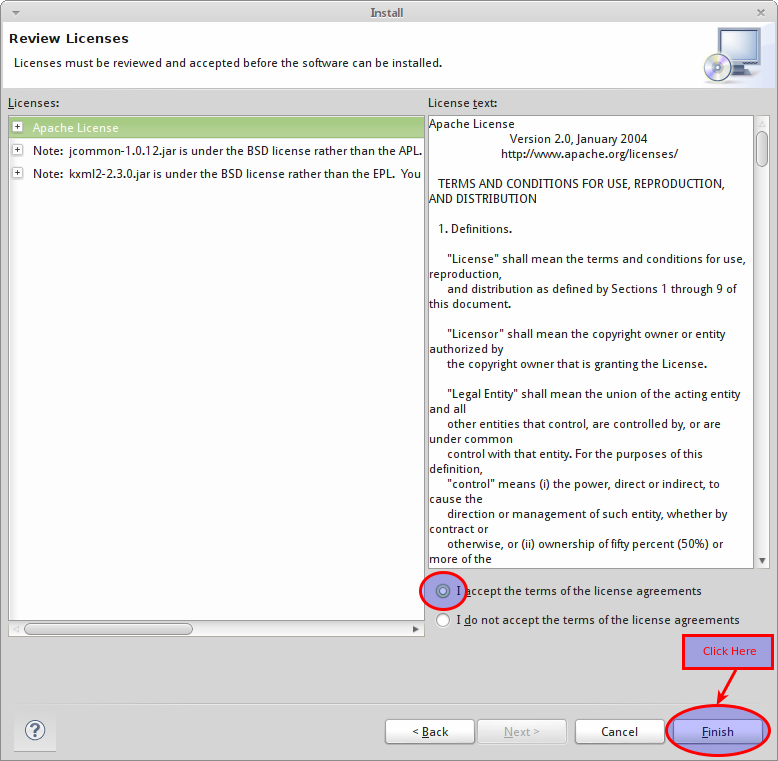
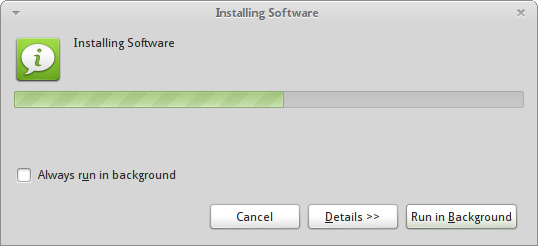
On clicking the Finish button on the screen indicated in figure 1.17, the additional software will be installed and the Installing Software dialog box will show the progress as shown in the figure 1.18 below:
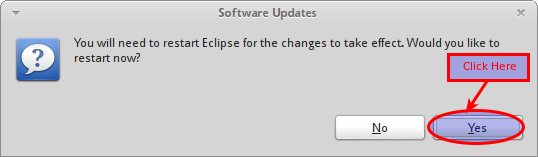
After the additonal software is installed, the Software Updates dialog box will show up indicating that Eclipse needs to be restarted for the changes to take effect. Click on the Yes button as shown in the figure 1.19 below:
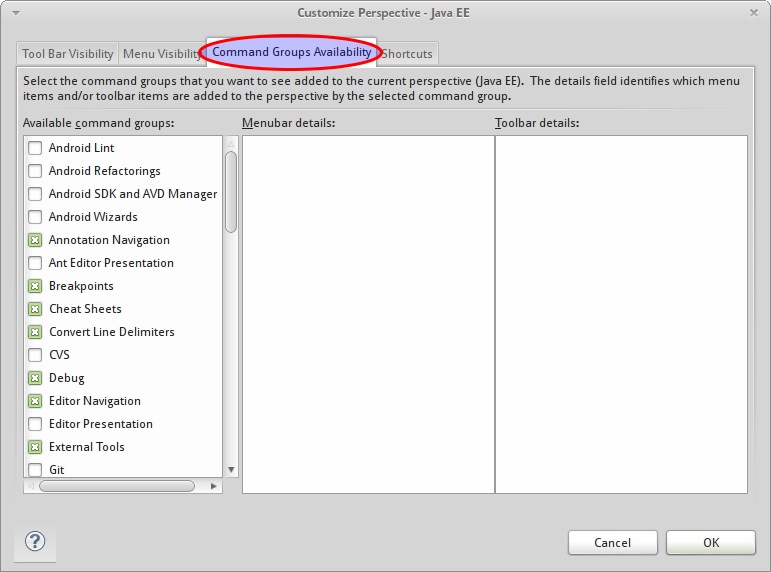
We will be back to the Eclipse IDE screen as indicated in the figure 1.11. Now, click on the Window menu option and from the drop down click on the Customize Perspective... item. This will launch the Customize Perspective screen. Select the Command Groups Availability tab from the Customize Perspective screen as shown in the figure 1.20 below:
Select all the Android related options from the Customize Perspective screen and click on the Ok button as shown in the figure 1.21 below:

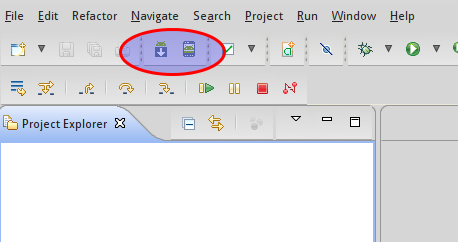
Clicking the Ok button will bring us be back to the IDE screen, but this time we will see the additonal icons for Android Development as shown in the figure 1.22 below:
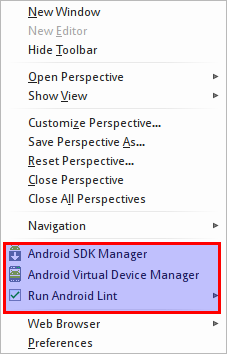
We will also see the Android related options by clicking on the Window menu option on the Eclipse IDE screen. The Window options are as indicated in the figure 1.23 below:
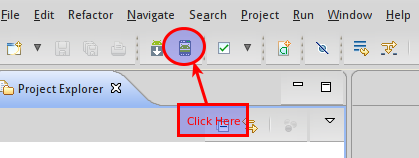
We need to create a virtual Android device for testing our Android applications. We will create a virtual Galaxy Nexus phone. To do that, click on the Android Virtual Device Manager as shown in the figure 1.24 below:
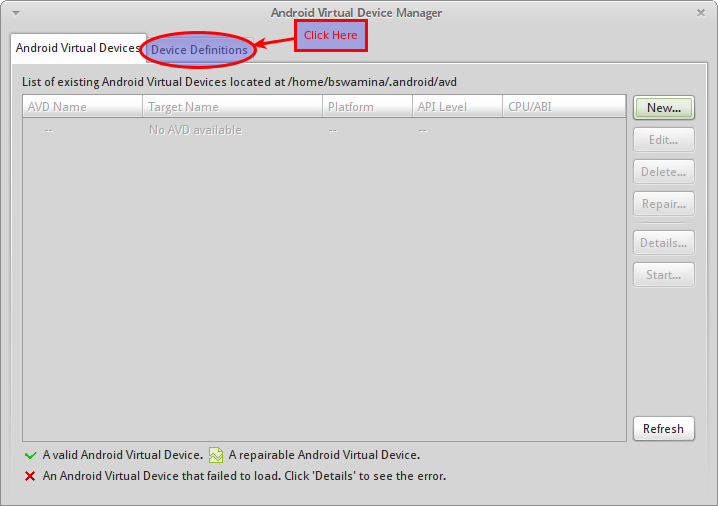
This will launch the Android Virtual Device Manager screen. Click on the Device Definitions tab as shown in the figure 1.25 below:
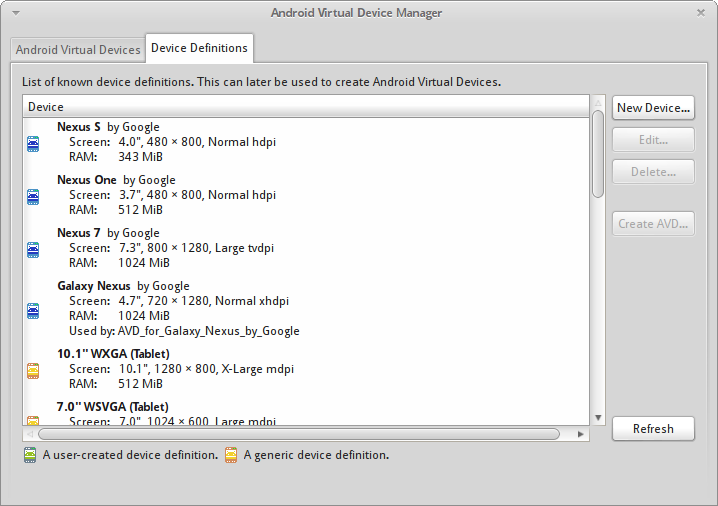
This will show a list of pre-defined virtual device definitions as shown in the figure 1.26 below:
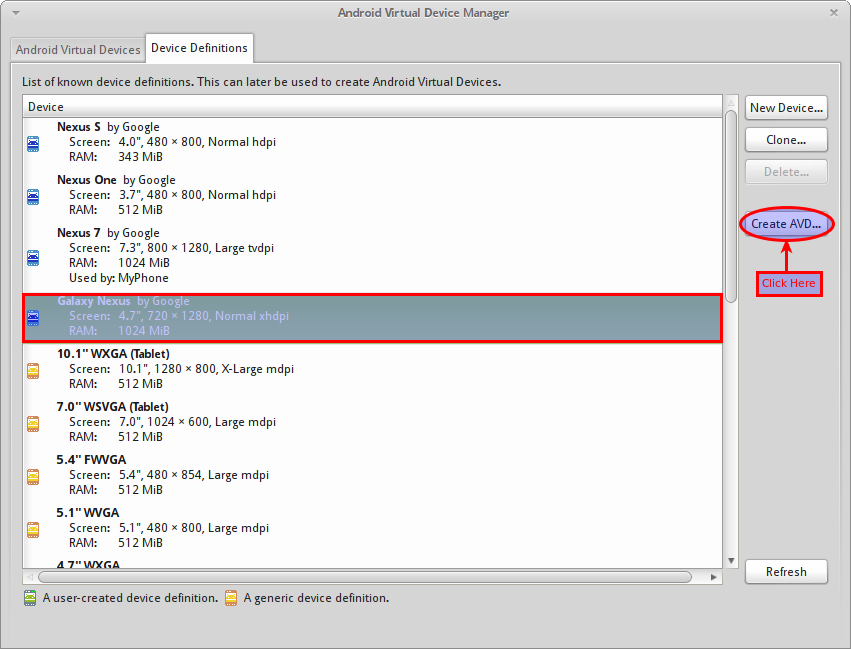
From the list, select the device definition for Galaxy Nexus and click on the Create AVD button as shown in the figure 1.27 below:
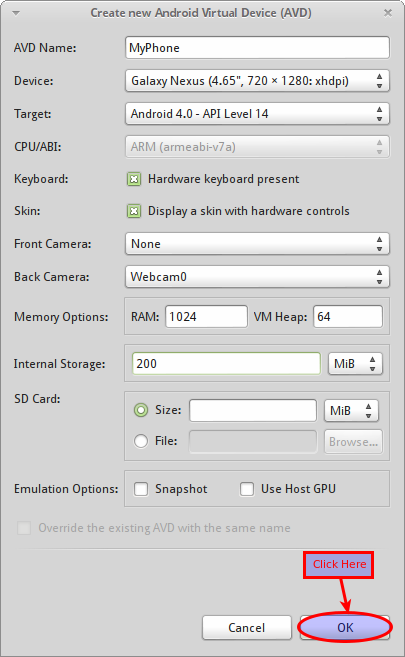
This will launch the Create new Android Virtual Device (AVD) screen. Adjust some of the details based on your desired configuration and click on the Ok button as shown in the figure 1.28 below:
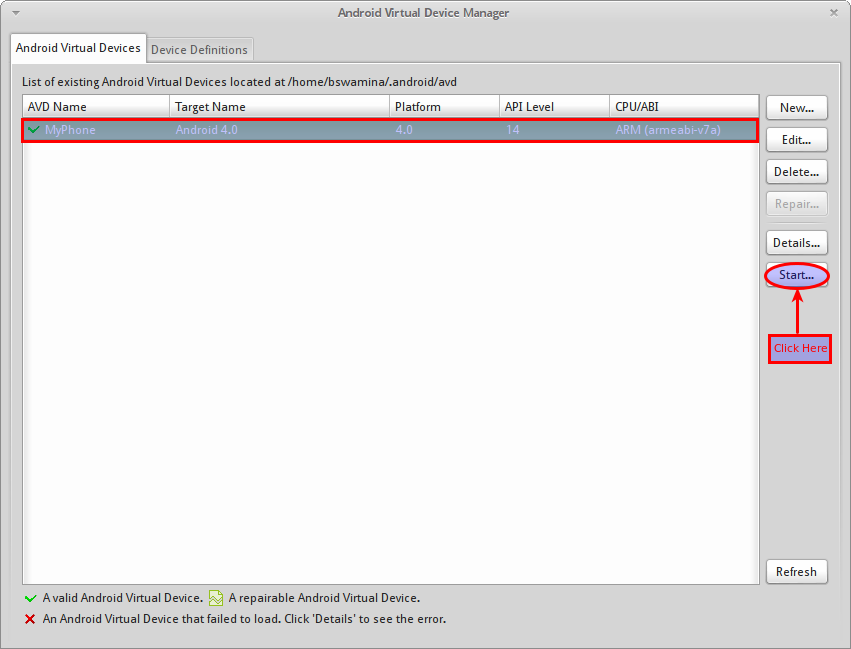
Clicking on the Ok button in the Create new Android Virtual Device (AVD) screen will bring us back to the Android Virtual Device Manager screen with our virtual device. Click on the Start... button as shown in the figure 1.29 below:
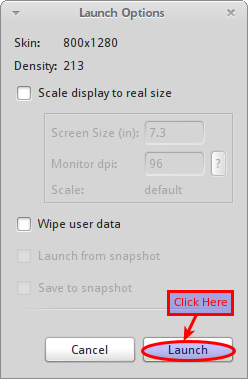
Clicking on the Start... button will launch the Launch Options screen. Click on the Launch button as shown in the figure 1.30 below:
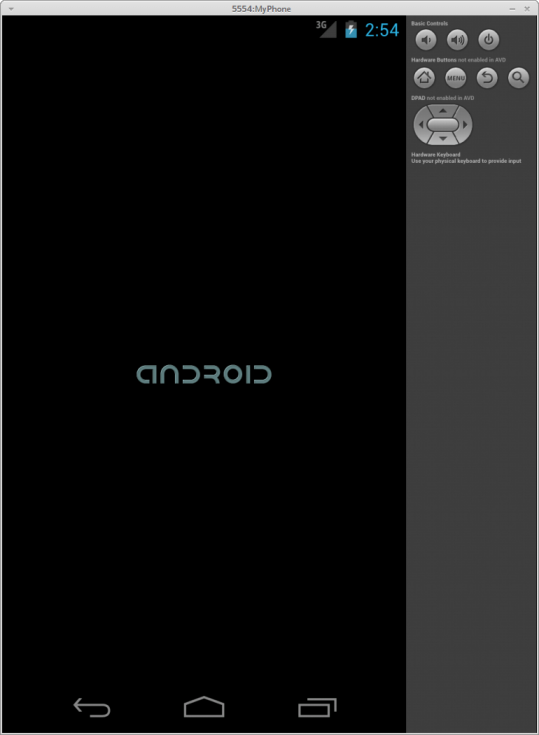
Clicking on the Launch button in the Launch Options screen will launch the just created MyPhone virtual device. It may take a few seconds to initialize before the virtual device with the home screen to appear as shown in the figure 1.31 below:
Close the MyPhone virtual device and the Android Virtual Device Manager screen and at this point we are done with all the setup and should be ready to start Android Application Development !!!